Posts tagged ‘manatee season’
When Everything Almost Went Wrong — And the Springs Opened Anyway
2/17/26
Some days begin with quiet intention.
Other days begin with a hiss.
Yesterday was the second kind.
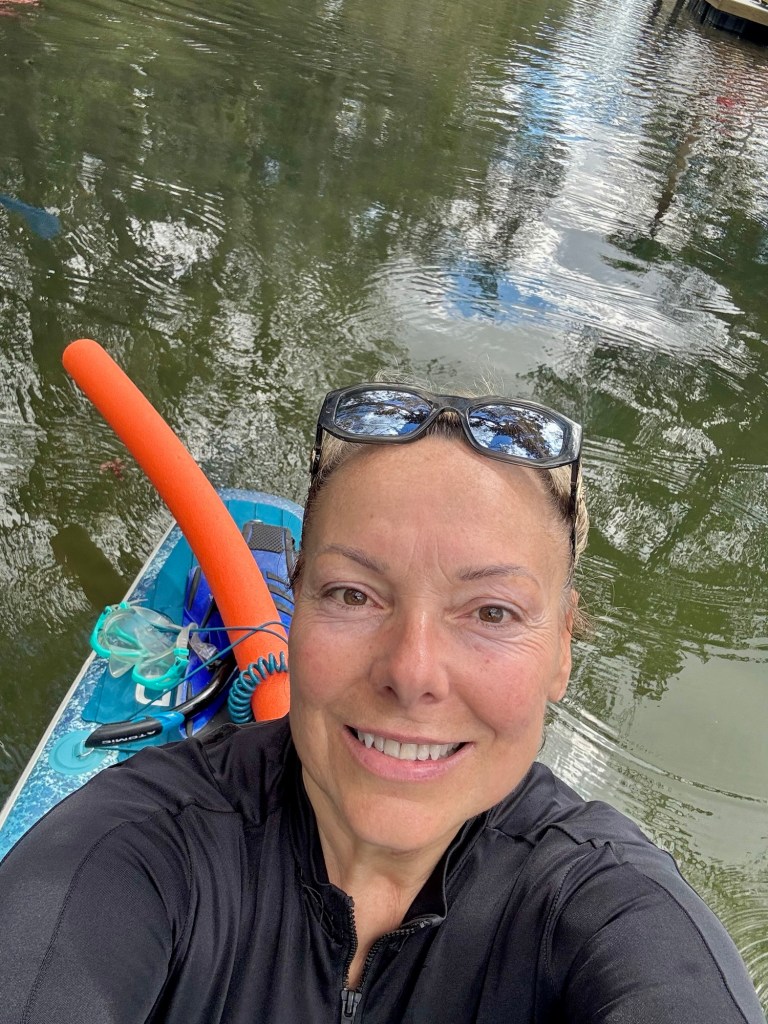
We arrived at Crystal River before the sun had fully warmed the water. I had that familiar feeling in my chest — hope mixed with anticipation. Winter manatee season. Low tide approaching. The possibility of something extraordinary.
And then…
My inflatable paddle board started leaking.
Not a dramatic puncture. Not a catastrophic seam failure. Just that persistent, unsettling hiss near the valve — the kind that makes you question every decision before you even launch.
As we were assessing that situation, my son’s board lost its plug.
Yes. The plug.

And just to complete the trifecta, my video setup decided it didn’t want to cooperate. The camera would not record properly underwater. Settings reset. Mode confusion. Technology reminding me who is really in control.
For a moment, it felt like the day was slipping away before it began.
And then something unexpected happened.
The spring was open.
In winter.
During manatee season.
We were allowed to swim in.
That almost never aligns so perfectly. Rangers had the gates open. Manatee numbers were manageable. The water was calm. The air was cool but not harsh. It felt like a quiet gift.
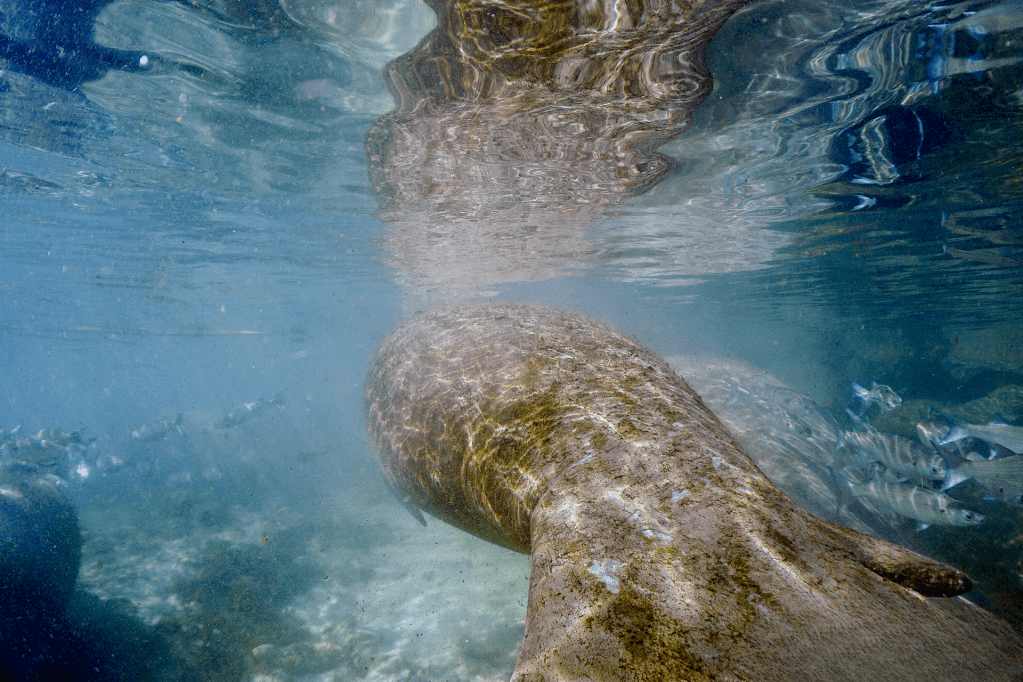
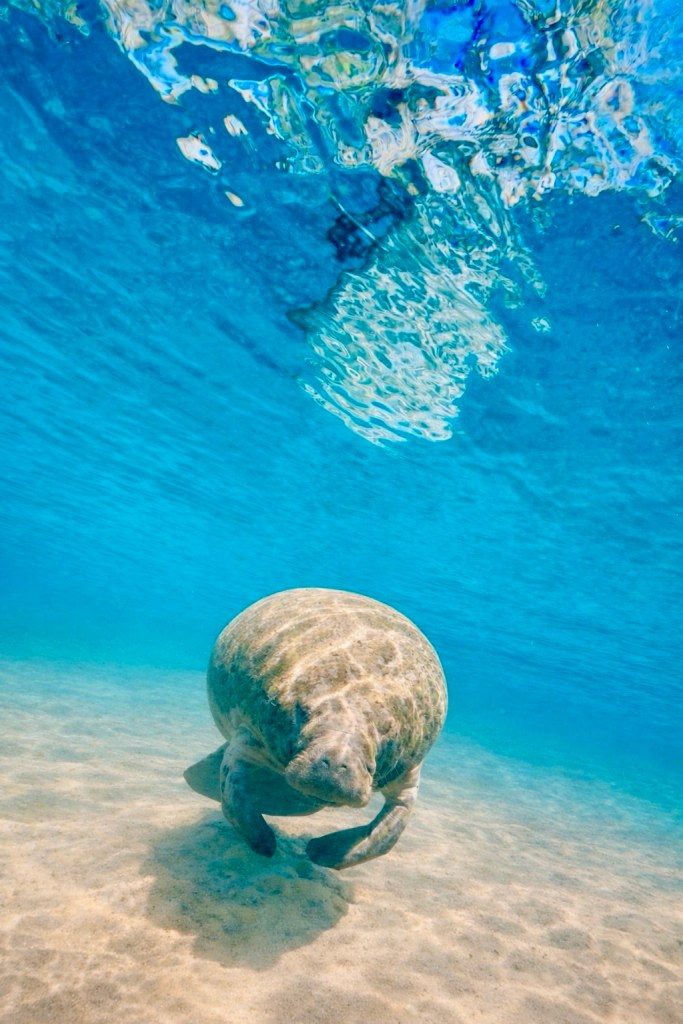
Visibility was incredible. Blue water stretched clean and luminous beneath the surface. The kind of clarity that makes the limestone glow and the animals appear almost suspended in glass.
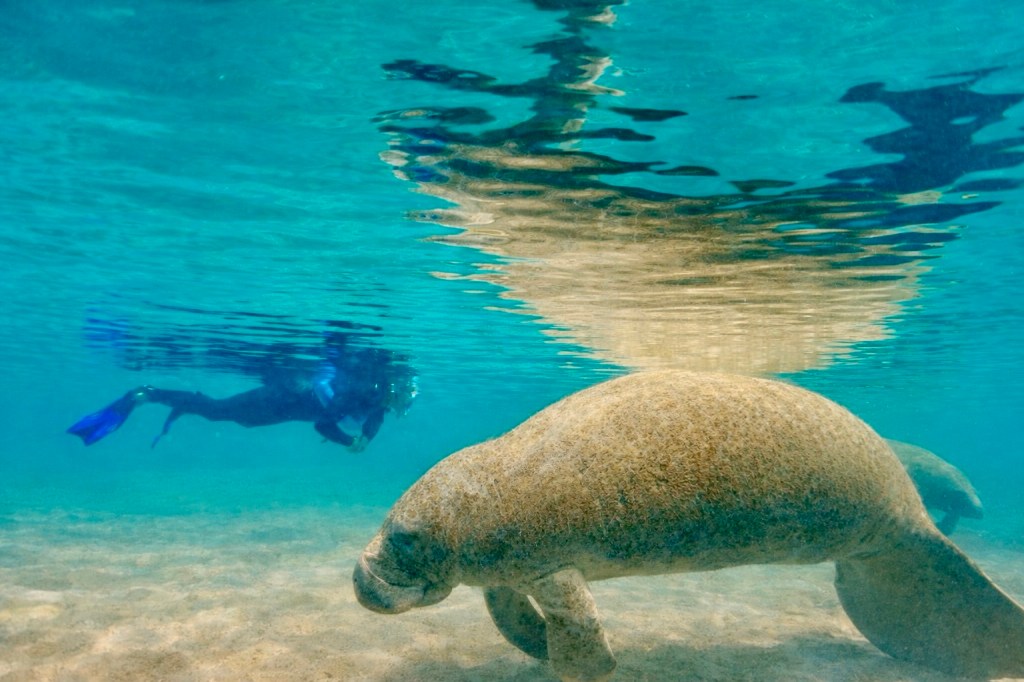
And there weren’t many people.
No tour flotillas circling. No chaotic splashing. Just stillness.
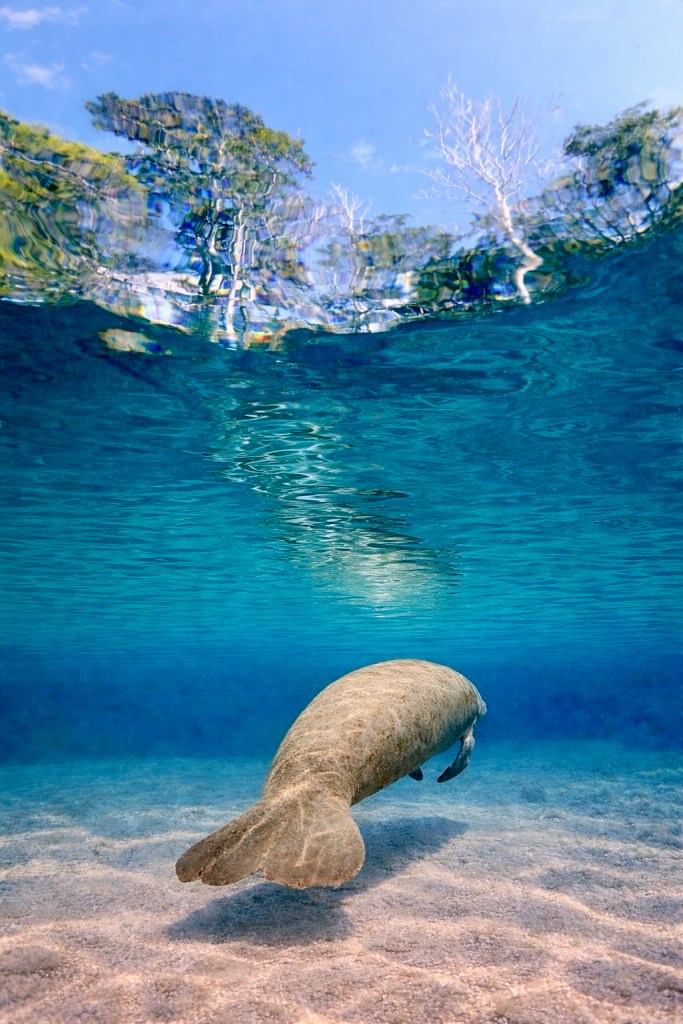
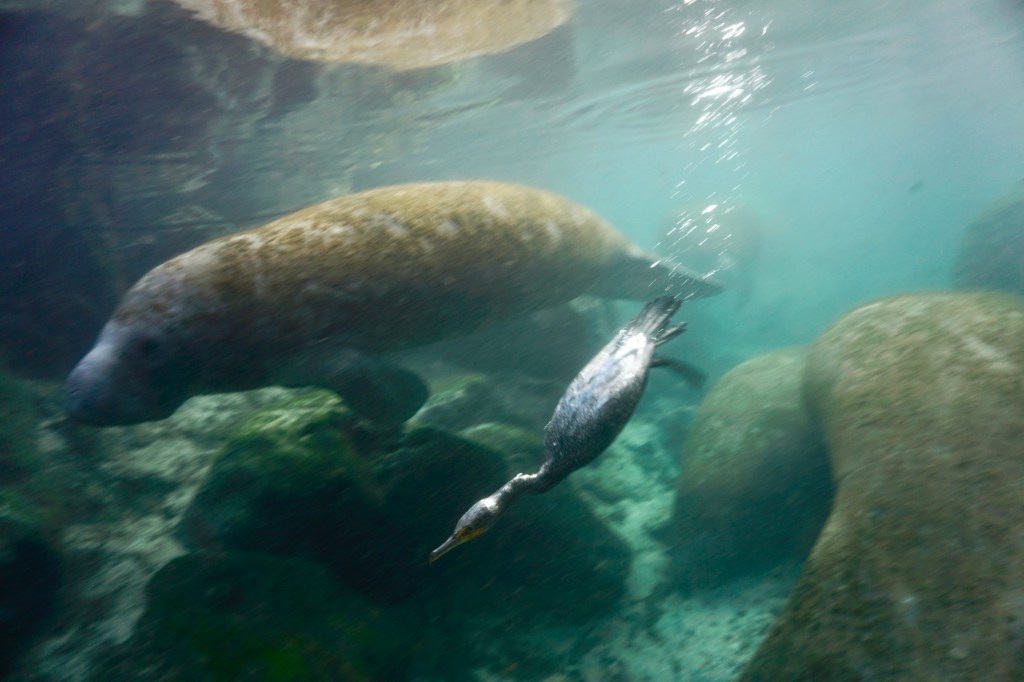
The manatees moved with the falling tide, just as I had hoped. Slow, deliberate, ancient. Some cruised past in open blue water. Others drifted near the surface, their reflections creating perfect mirrored portals.
One frame stopped me completely — an underwater moment with an anhinga cutting through the water column. Bird above, hunter below, fish flashing silver. It was raw Florida. Not curated. Not posed. Real.
The leaking board hissed quietly in the background all morning. It never failed. It simply reminded me that field work is never perfectly controlled.
The missing plug became a story we’ll laugh about.
The non-working video? It forced me to be present. To photograph instead of chase footage. To observe instead of troubleshoot.
Sometimes the problems strip away the distraction.
What remained was water. Light. Breath. Blue.
And a reminder:
Nature does not reward perfect planning.
It rewards patience.
Tomorrow we go again.
Because when the springs open in winter, and the tide pulls life inward, and the water turns that impossible shade of blue — you show up.
Even if something is hissing.
How to edit underwater photographs
Editing underwater photographs requires special techniques to enhance the colors and clarity of the images. Here are some steps to help you edit underwater photographs effectively:
- Adjust White Balance: Underwater photos often have a blue or green tint due to water filtering out red light. Use the white balance tool in your editing software to correct the color cast and restore natural colors.
- Enhance Contrast and Exposure: Adjust the contrast and exposure settings to improve the overall brightness and clarity of the image. This can help bring out details in the underwater scene.
- Remove Backscatter: Backscatter refers to the tiny particles in the water that can appear as white specks in your photos. Use the spot healing brush or clone stamp tool to remove backscatter and clean up the image.
- Enhance Colors: Use the saturation and vibrance settings to boost the colors in your underwater photos. Adjust the hue and color balance to make the colors appear more vibrant and true to life.
- Sharpen and Add Details: Apply sharpening and noise reduction filters to enhance the details and sharpness of the underwater image. Be careful not to over-sharpen, as it can create artifacts in the photo.
- Crop and Straighten: Crop the image to remove any distracting elements and improve the composition. Straighten the horizon line if needed to ensure a balanced and visually appealing photo.
- Add Filters and Effects: Experiment with filters and effects to enhance the mood and atmosphere of the underwater scene. Consider adding a vignette or adjusting the lighting to create a more dramatic effect.
- Save and Export: Once you are satisfied with the edits, save the edited image in the highest quality possible. Consider exporting the image in a format that preserves the colors and details for sharing or printing.
It’s important to practice and experiment with different editing techniques to find the best approach for your underwater photographs. Additionally, using specialized editing software designed for underwater photography can help streamline the editing process and achieve professional results.
Enjoy the ride👍